
Restoration stories
When the Reverse E-Tank Reads 0.0 Amps: Dad’s Cast-Iron Cauldron
The reverse electrolysis setup looked ready, but the power supply stayed at 0.0 amps. The problem was not the tank. It was the electrical contact hiding under old seasoning and rust.
By Kerri Rundstrom · Rundstrom Restorations · 6 min read
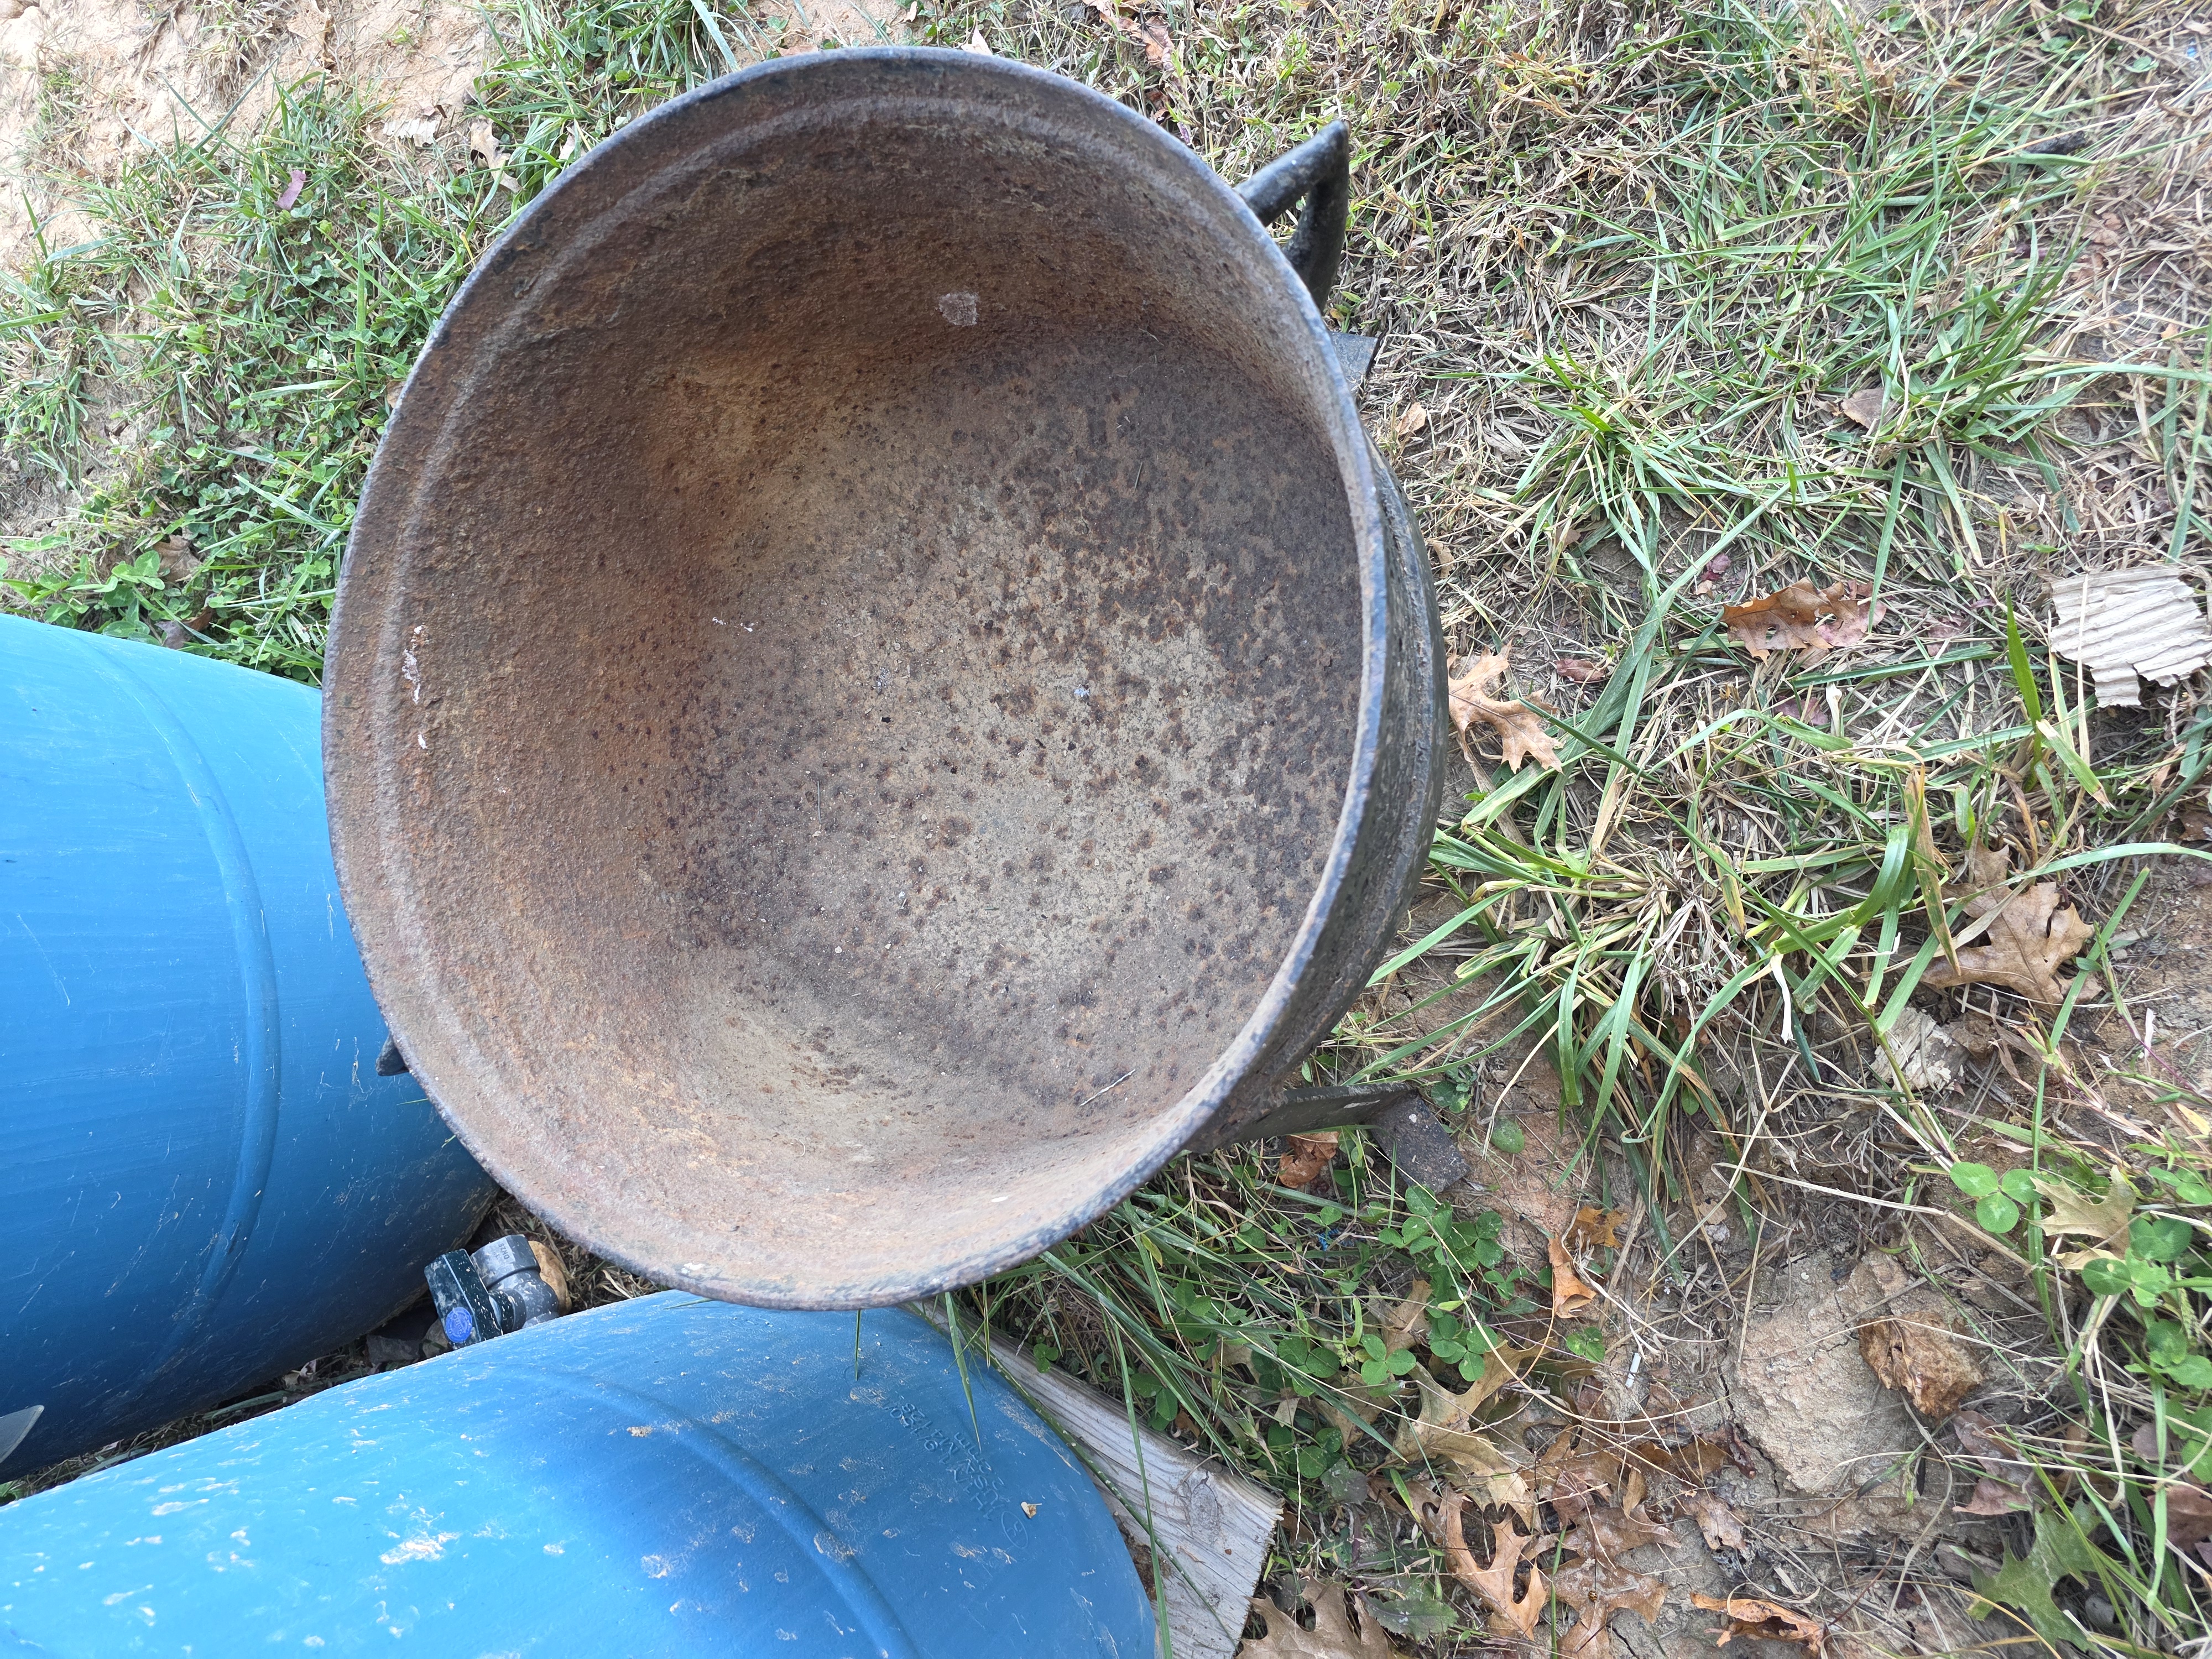
A cauldron large enough to become its own tank
My dad brought me another piece to restore: a three-legged cast-iron cauldron with a rusty interior and plenty of old, flaking seasoning. It is large enough that an ordinary skillet-sized electrolysis setup was not going to be much help with the interior.
So the cauldron became part of the setup. I filled it with electrolyte solution and placed a rusty lawnmower blade inside as the sacrificial anode. In reverse electrolysis, the cookware being cleaned connects to the negative lead and the sacrificial steel connects to the positive lead. The two pieces must not touch.
That sounds straightforward when written in one sentence. My power supply had other opinions.
The 0.0-amp problem
I connected the leads, checked the polarity, and watched the display stay stubbornly at 0.0 amps. I changed the arrangement and checked it again. Still nothing. At that point it was tempting to decide that the homemade setup simply was not going to work.
The lesson was electrical contact. A clamp sitting on seasoning, paint, heavy rust or other buildup may look connected while being electrically isolated from the metal underneath. The current needs a clean path through bare metal on both sides of the circuit.
I sanded a small connection point through the cauldron’s flaking seasoning until I reached bare iron. Then I sanded through the rust on the lawnmower blade until the clamp could bite clean steel. Once both connection points reached actual metal, the circuit finally had a path.
If an electrolysis tank shows 0.0 amps, check the simple things before condemning the equipment: confirm the polarity, make sure the workpiece and anode are not touching, and clean both clamp locations down to bare metal. My problem was not a mysterious failure. The clamps were attached to layers that did not conduct well enough.
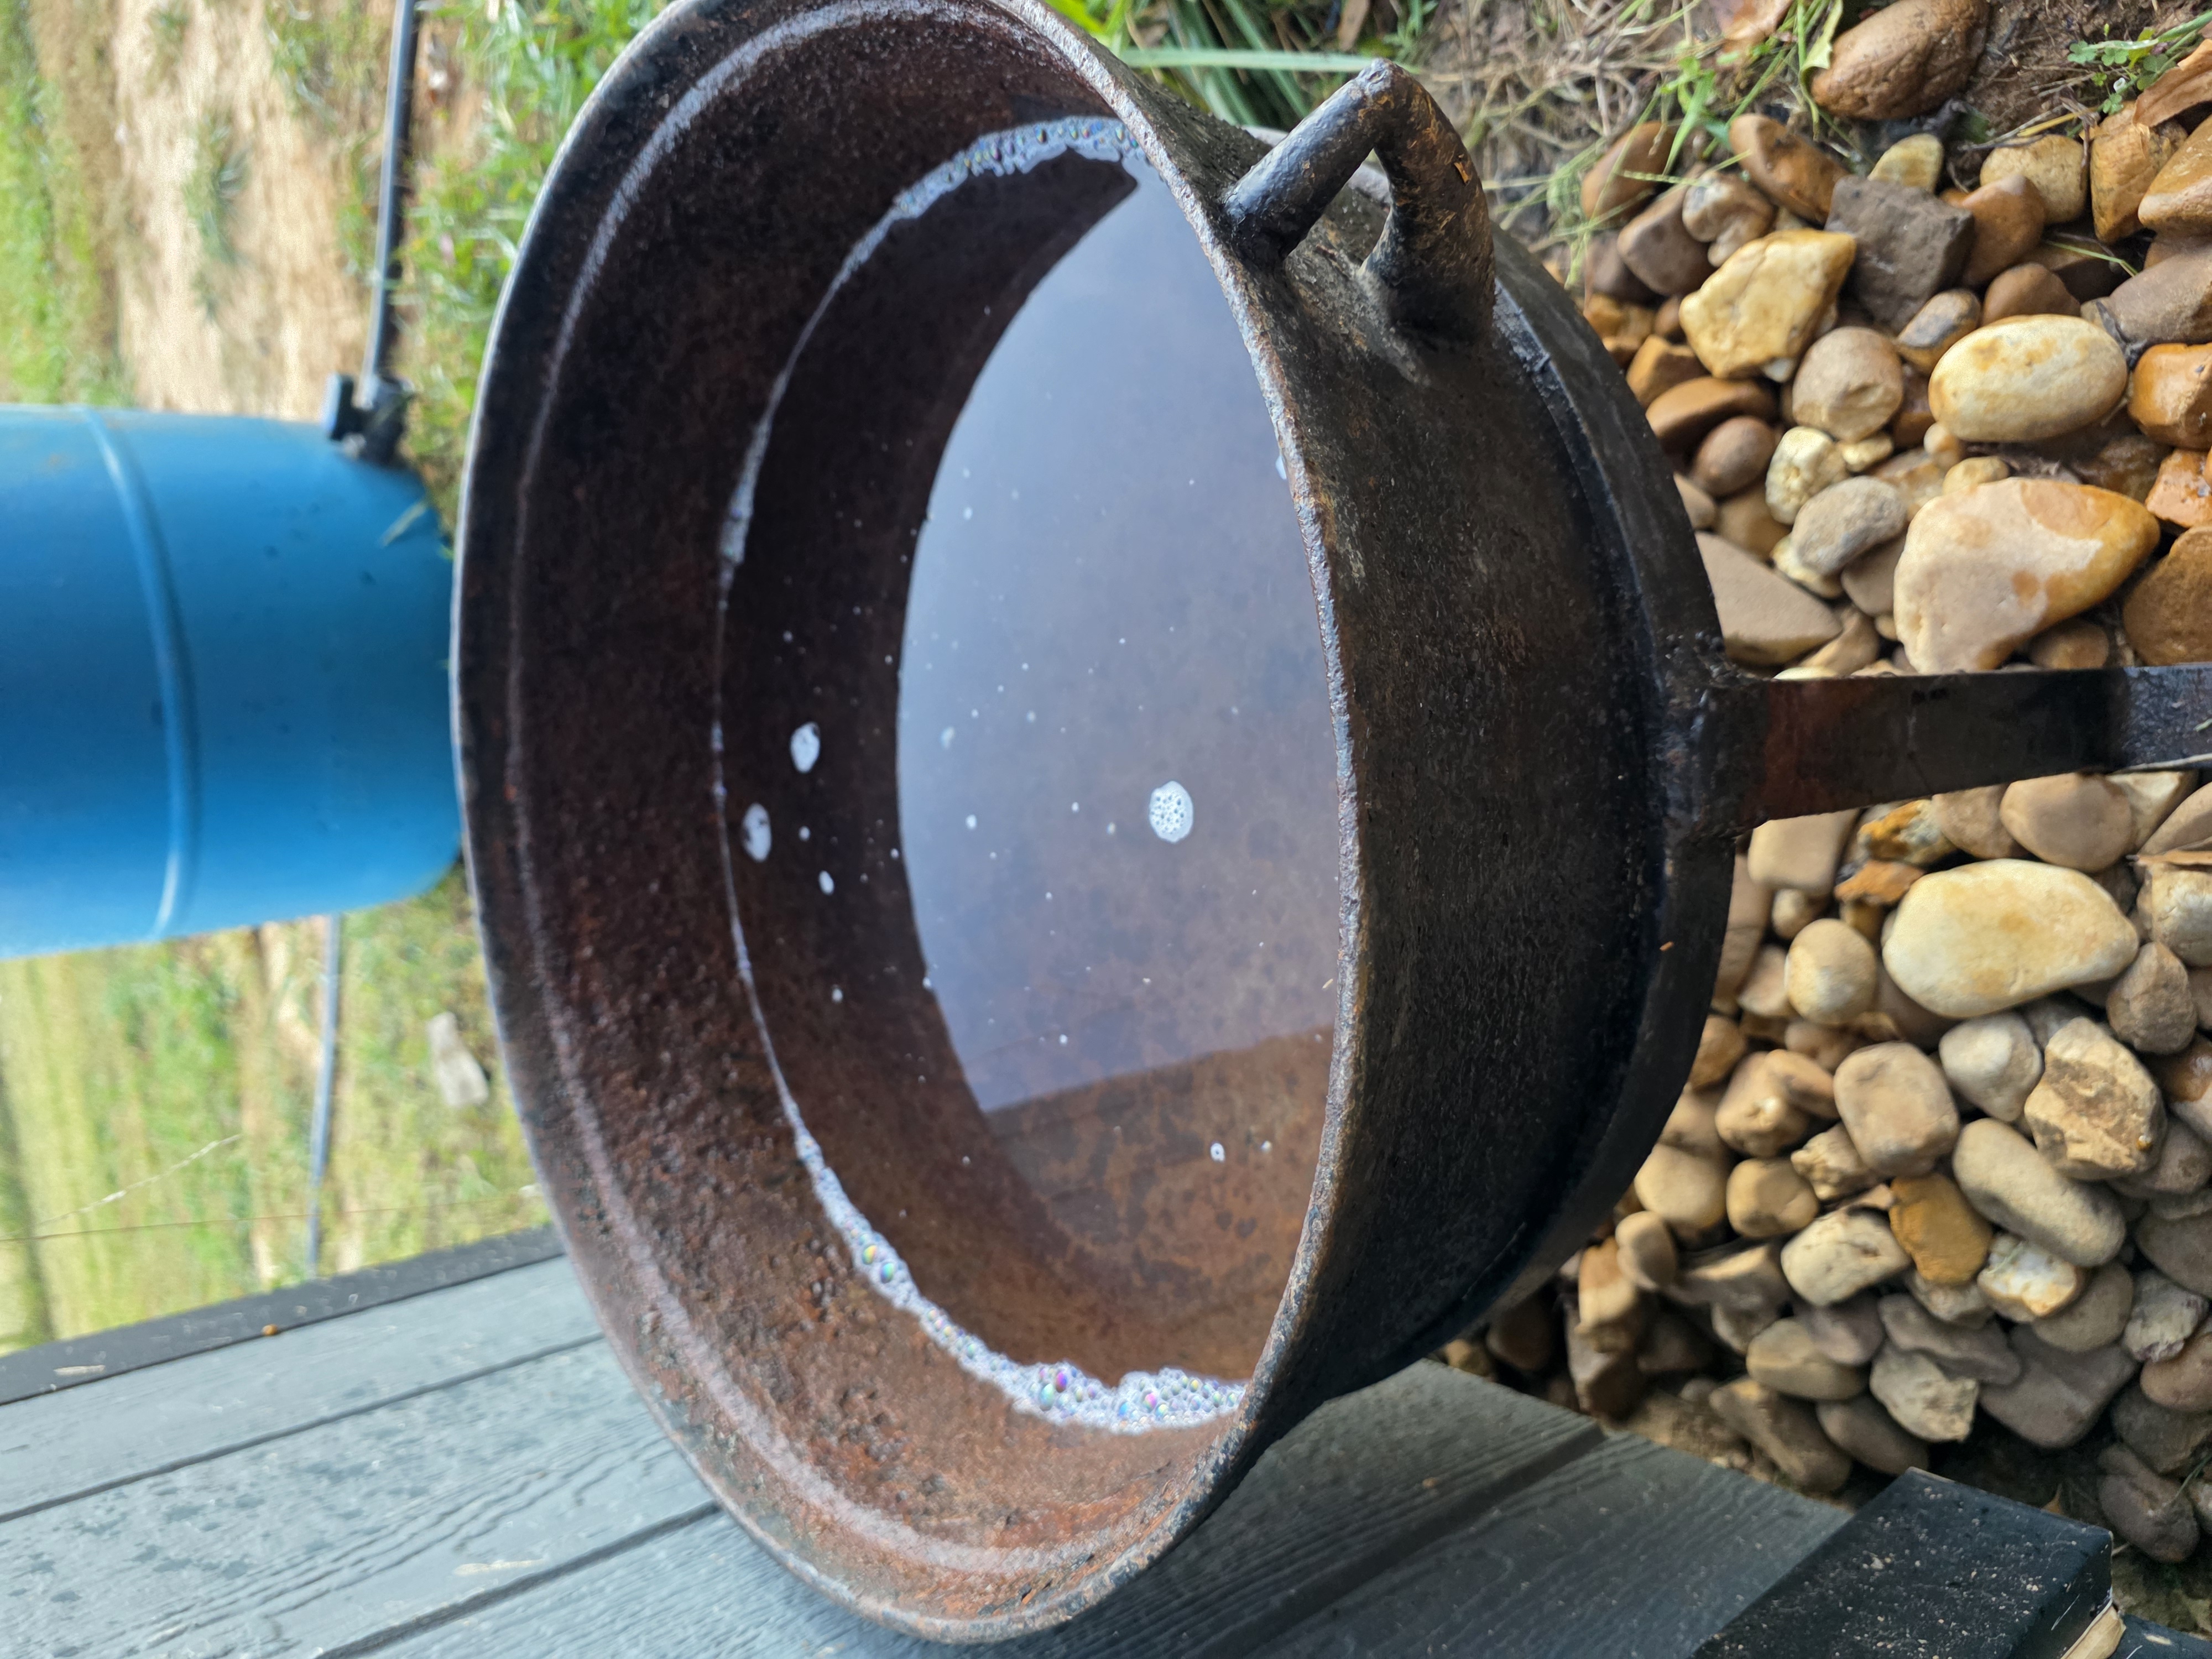
Almost quitting is still part of the process
I came close to giving up on the setup. There is a particular kind of frustration in assembling everything, expecting some sign of life, and getting a perfectly calm 0.0 on the display. But this cauldron came from my dad, and I was determined to understand the problem before I abandoned the method.
That persistence produced the most useful information from this first stage. Electrolysis depends on a complete electrical circuit. Old seasoning and rust are not merely dirt waiting to float away. At the clamp points, they can prevent the circuit from starting at all.
This is also why I do not treat an active tank as proof that the piece is finished or safe for use. Electrolysis removes rust from the areas the current reaches. Inspection, additional cleaning, crack checks, drying and later finishing decisions still come afterward.
About eight gallons, with an asterisk
I am calling this an approximately eight-gallon cauldron for now. I added one full five-gallon bucket of electrolyte solution and then part of a second bucket, but the full second five gallons would not fit.
That makes eight gallons a useful working estimate, not a verified capacity. The lower liquid line in the photograph shows the first five gallons. A future measured fill can replace the estimate with a real capacity.
The distinction matters when identifying or selling old cookware. A seller’s gallon estimate, an outside measurement and an actual measured fill are three different kinds of information. I would rather keep the asterisk than manufacture precision.
The outside comes next
This reverse setup is addressing the interior first. The exterior still needs its own treatment, and the tentative plan is to handle it as a separate stage after I can drain the cauldron and inspect what the interior treatment revealed.
Because the whole pot does not fit neatly into this interior setup, I am not committing to an exterior method before that inspection. The next stage may require a larger bath or a different position so the outside can receive even treatment without creating unsafe contact between the iron and the sacrificial steel.
I will document the final arrangement, what worked, what did not, and the condition underneath the rust. Stay tuned for the results. The useful part of a restoration story is not pretending every experiment worked on the first try. It is recording why it failed and what finally changed.
Have this question about your own piece?
Send photographs and request a restoration assessment.
Over to you
Which family piece would you most like to see get another chapter? Tell us in the comments below.
From the workshop
Before you strip that skillet…
Get our free Cast-Iron Rescue Checklist: what to inspect, which problems need treatment, and when to stop before the pan pays for your enthusiasm. Sign up below for an immediate PDF download and future workshop updates. Email delivery is not active yet.
Join the conversation
Questions, comments, questionable skillets?
Ask a question or tell us what you're working on. Comments are reviewed before appearing. Please leave personal contact details out.
Loading comments…